
Quick Start: Build and Publish Your First Q&A Application in 5 Minutes
Follow definite steps to import sample data, connect a Chat Agent, verify responses, and generate a public share link.
This tutorial guides first-time builders through creating a grounded knowledge-base Q&A assistant in 5 minutes and generating an externally accessible share link.
Learning Goals and Preparation
By completing this tutorial, you will build an online assistant capable of answering corporate travel expense policies accurately, mastering the end-to-end workflow of "import knowledge base → attach to Agent → test in workspace → publish to production".
Before starting, prepare the following resources:
- Resource creation permissions in your current workspace team.
- Configured chat models and embedding models (SaaS accounts include default models; for self-hosted instances, refer to Model Configuration).
- Save the following sample text locally as a UTF-8 encoded file named
travel-policy.txt:
FastGPT Example Travel Policy
1. Submission deadline: Employees must submit expense reports within 15 calendar days after returning from a business trip.
2. Mandatory receipts: Every claim must attach an official tax invoice and an approved travel request form.
3. Finance review SLA: The finance department completes review and disbursement within 5 business days after receiving complete valid receipts.
Step 1: Create a Knowledge Base and Import Sample Data
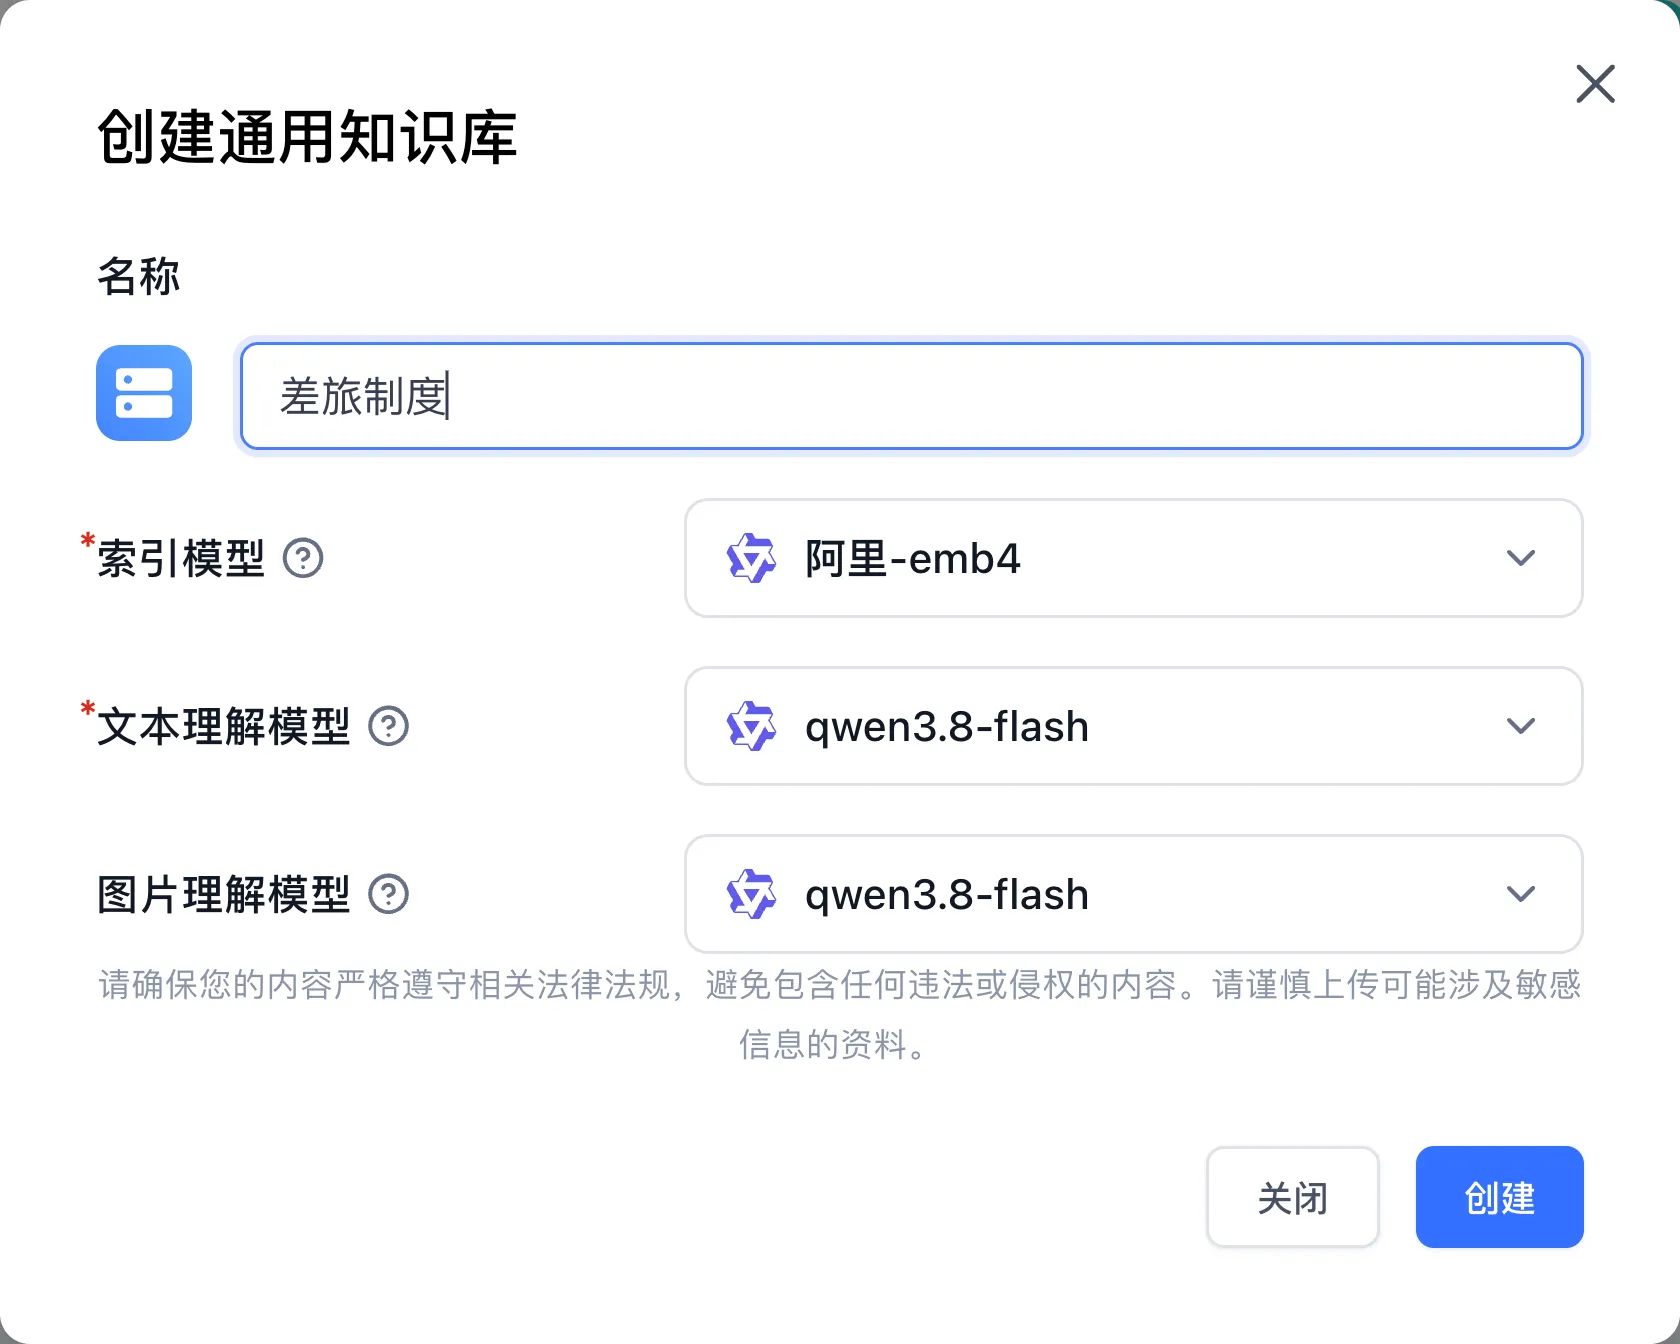
- Log in to FastGPT, click "Dataset" in the left navigation bar, click "New" in the upper right corner, and select "General Dataset" from the dropdown menu.
- In the creation dialog, enter
Corporate Travel Policyas the name, keep the default "Embedding model" and "File read model", and click "Create". - Open the newly created knowledge base, click "Create/Import → Text Collection → Local File", upload
travel-policy.txtin the "Select a file" step, wait until upload reaches 100%, and click "Next". - In the "Parameter settings" step, keep the default data processing settings and click "Next".
- In the "Data preview" step, click
travel-policy.txtin the left file list, verify in the "Preview chunks" panel on the right that the submission deadlines and receipt requirements remain intact, and click "Next". - In the "Start import" step, click "Start Upload" and wait until the training status in the collection list turns to "Ready".
Step 2: Create a Chat Agent and Attach the Knowledge Base
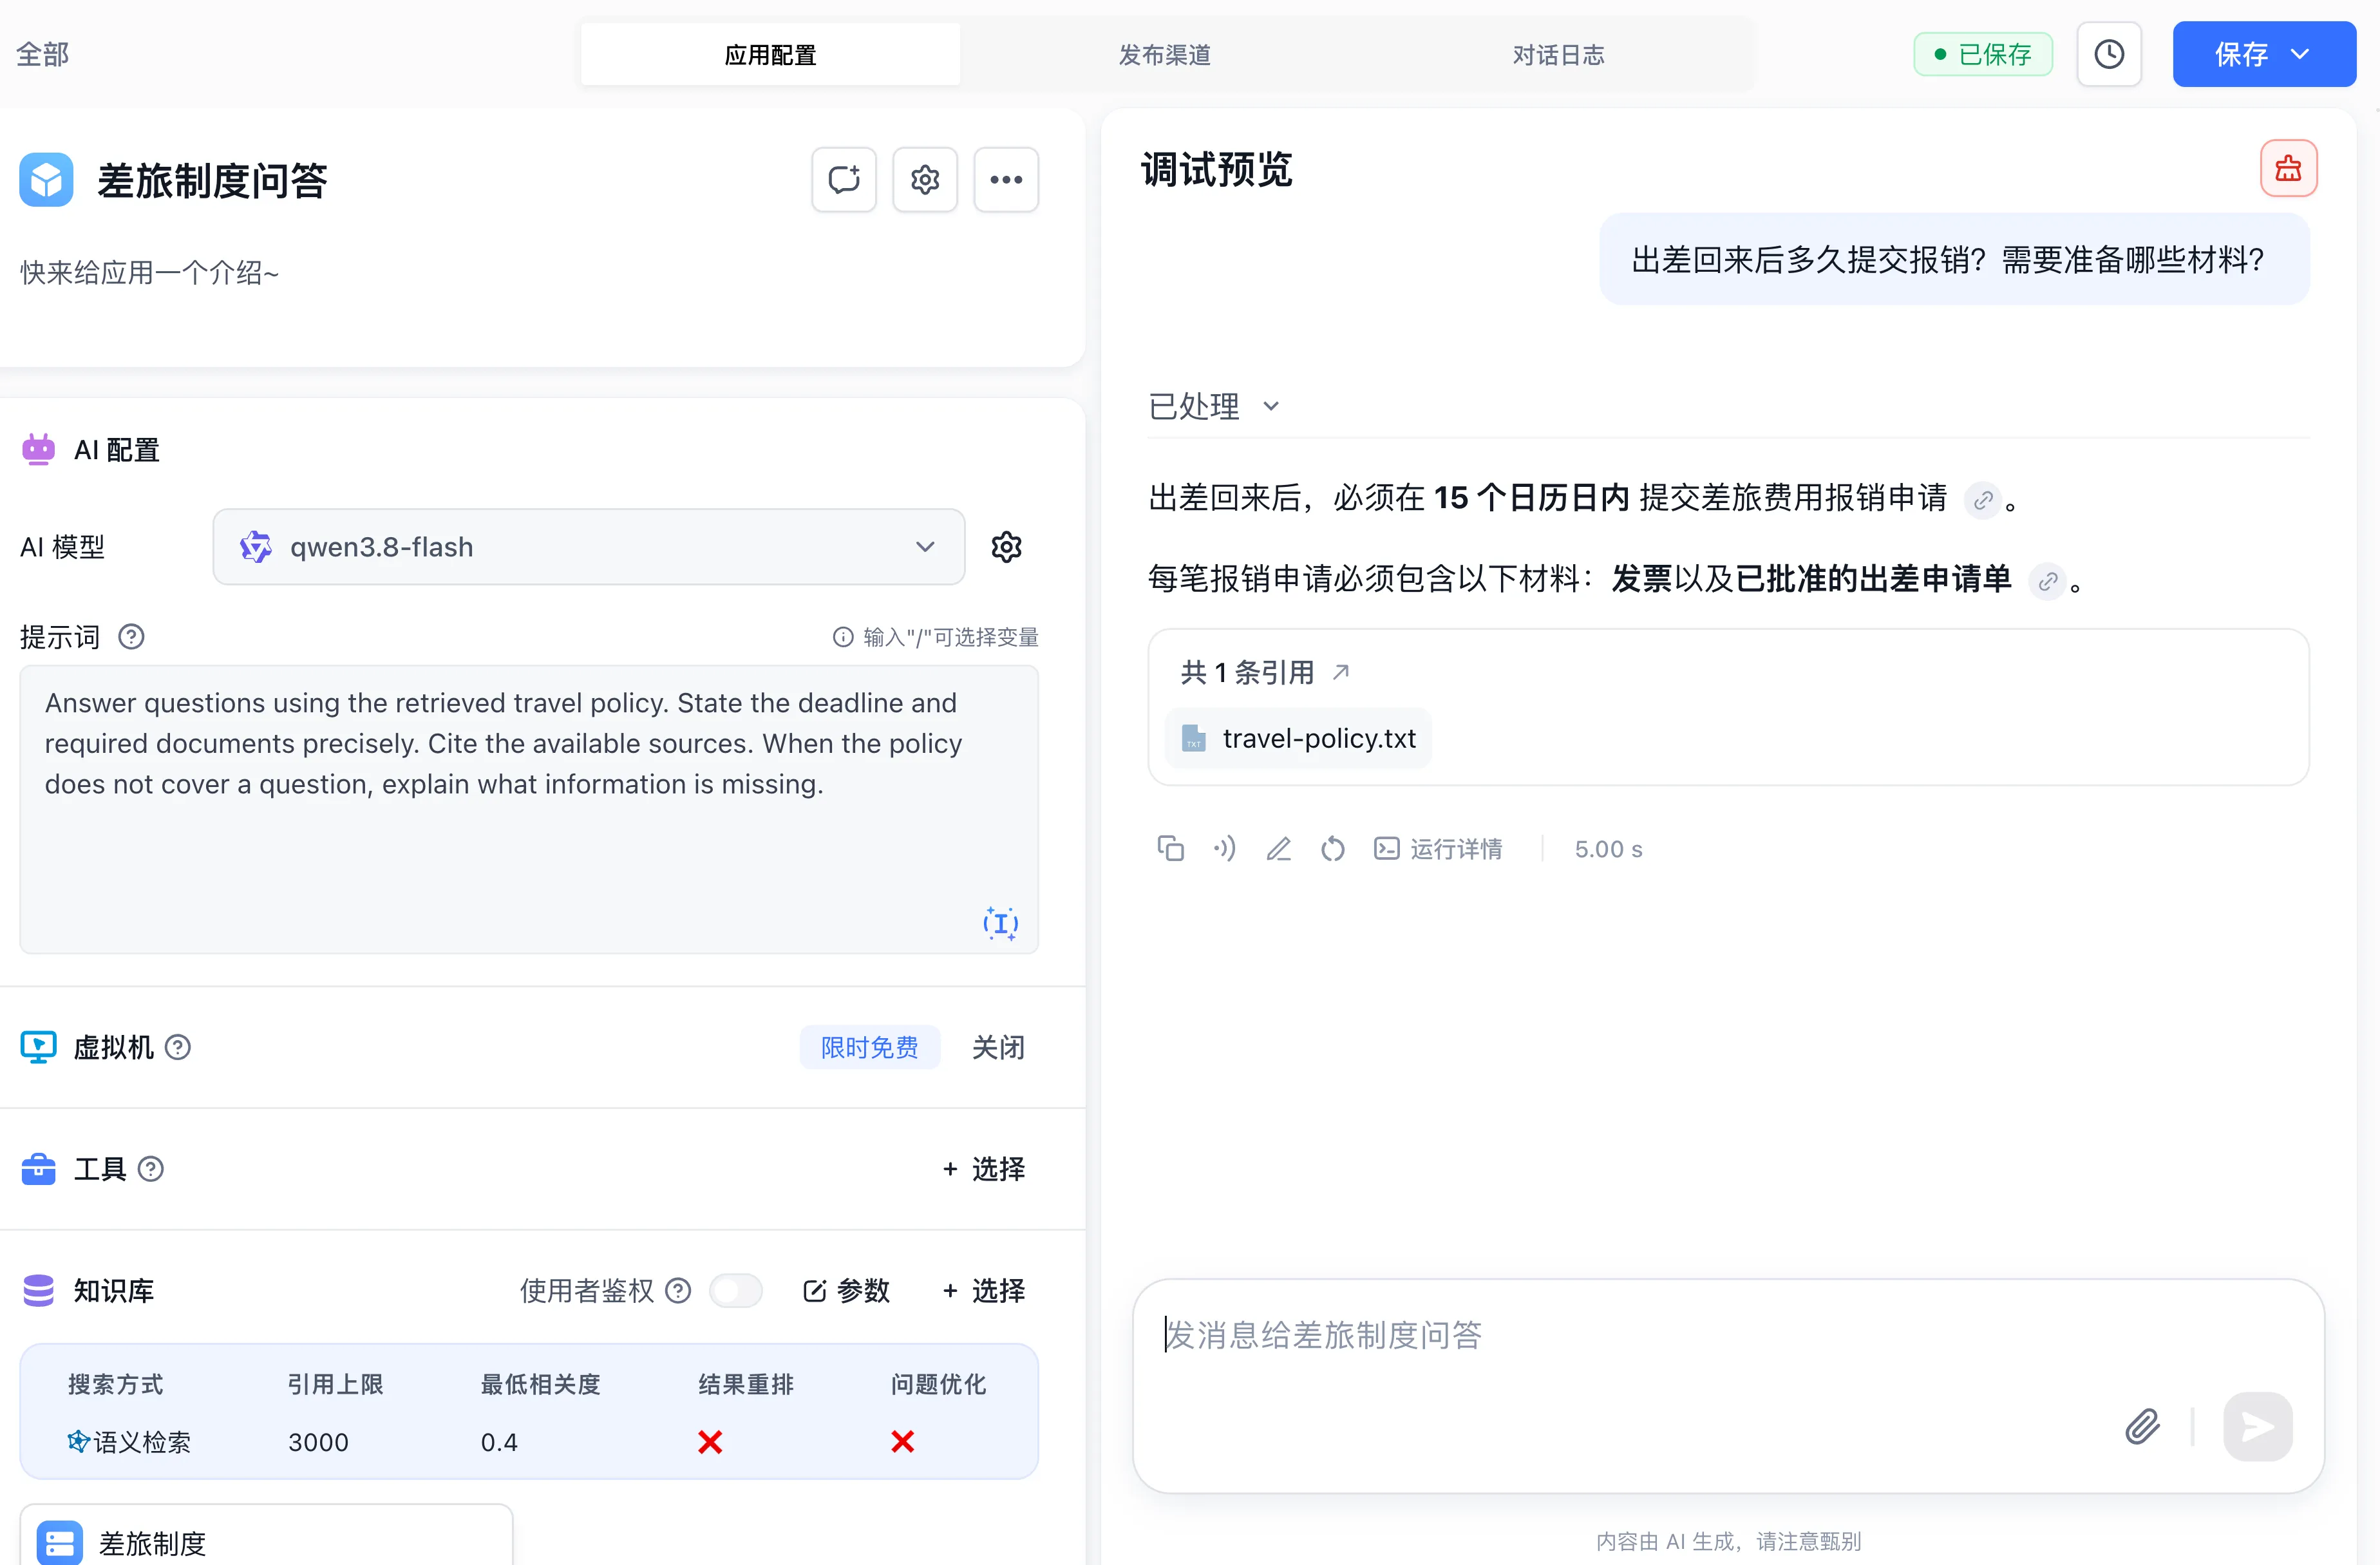
- Click "Studio" in the left navigation bar. Click "Create your first Agent" in the center of the page (or the "New" card in the list if applications already exist) to open the "Create Agent" page.
- Select "Chat Agent" under "Agent Type", enter
Travel Policy Q&Aas the name in the icon & name area, and click "Create". - In the "App settings" panel under "AI Settings → Model", select an available chat model (such as
qwen3.8-flash). - In the "Dataset" section below, click "+ Choose" on the right, check the
Corporate Travel Policyknowledge base created earlier, and confirm. - In the "Prompt" field, enter the operational instructions:
Answer questions using the retrieved travel policy. State the deadline and required documents precisely. Cite the available sources. When the policy does not cover a question, explain what information is missing.Step 3: Test Responses in Workspace
In the right-hand "Debug preview" panel, submit a test query:
How many days do I have to submit my travel expenses after returning? What documents are required?Inspect the response. The assistant clearly identifies the "15 calendar days" deadline, lists invoices and approved request forms, and provides citations linked to the original knowledge chunk.
Step 4: Publish a Public Share Link
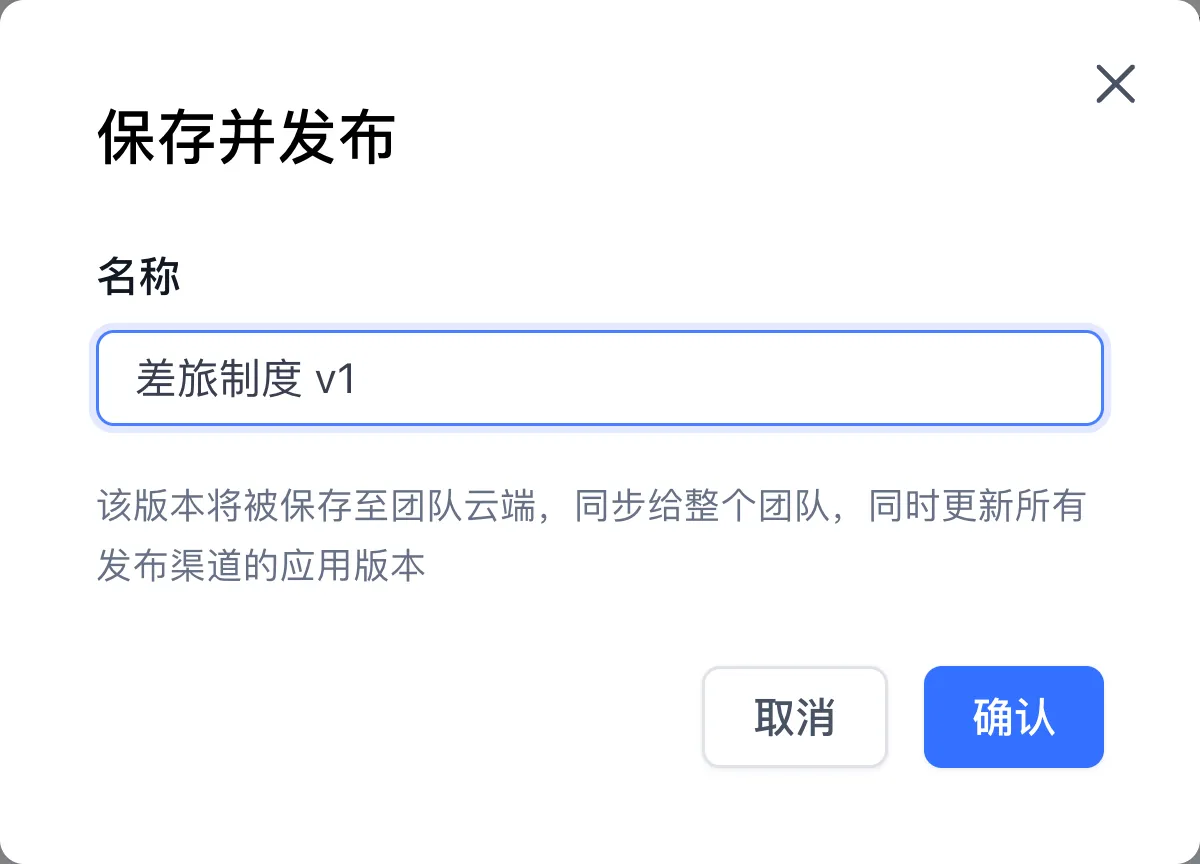
- Click the "Save" button in the top right corner and select "Save and Publish" from the dropdown; enter a version name (such as
Travel Policy v1) in the dialog and click "Confirm". - Open the "Publishing channels" tab at the top and select "Login-Free Window" on the left.
- Click "Create New Link" in the upper right corner, enter a link name (optionally enable "View citation snippets"), and click "Confirm". The generated share URL is copied automatically.
- Open the link in a separate browser tab to verify the standalone user experience.
Next Steps
After publishing your first assistant, explore these advanced capabilities:
- Multi-step tasks: Learn autonomous tool execution in Create Your First Agent Task.
- Process orchestration: Connect nodes and variables in Build Your First Workflow.
- Conceptual map: Read Core Concepts and Application Types.
- Real-world solutions: Check the Complete Examples.
Complete Examples
Last updated