
Build Apps
Template Market, App Folders, and Batch Management
Create applications from templates and organize team applications with folders, batch actions, JSON import/export, and inherited permissions.
As your team scales its Chat Agents, Agent V2 apps, and Workflows, use the Template Market to start from proven patterns and manage assets through folders, batch operations, and JSON configuration portability.
Create Applications from the Template Market
- Click Template Market in the left sidebar, or browse recommended templates in the Create from template area at the top of the Agents list.
- Filter templates by category tag (such as Recommendation, WeCom Zone, Text Generation, Image Generation, Web Search, Roleplay, or Office Services) or search by keyword.
- When a template provides a guide, click Guide on its card to review its architecture and prerequisites; click Build now to create an application instance in your current directory.
- Open the created application, bind your team's active models, knowledge bases, and tool credentials, and run a test in the debug preview pane.

Filter Applications and Organize Folders
- Filter and sort: Go to Studio → Agents, where the upper-left corner displays the Agent heading. Filter by App type (Chat Agent, Chat Agent V2, Workflow), search by name, or change the sort order; the upper-right toolbar provides Batch Manage, + Folder, and Import.
- Create folders: Click + Folder in the upper-right corner, enter a name and description, and choose whether to follow parent folder permissions to organize Apps by department, project, or lifecycle stage.
- Permission inheritance and parent owner boundary: Child folders and resources with permission inheritance enabled (the default) inherit collaborator roles (Can Use, Can Edit, Can Manage) from their parent folder, whereas standalone resources (
inheritPermission=false) retain their own collaborator ACLs; a parent folder's Owner inherits Can Manage (manage) permission on inheriting child resources while each child resource retains its own single Owner. - Ancestor path navigation: When a member has access only to a descendant application, tool, skill, or dataset inside a folder hierarchy, ancestor folders appear as read-only navigation entries (hiding folder metadata and management menus and disabling drag-and-drop), allowing the member to follow breadcrumbs into the authorized subtree and search within it. See Team Roles and Permissions.
Batch Move and Batch Delete
- Click Batch Manage in the top-right corner of the application list to enter multi-select mode.
- Select one or more applications or folders.
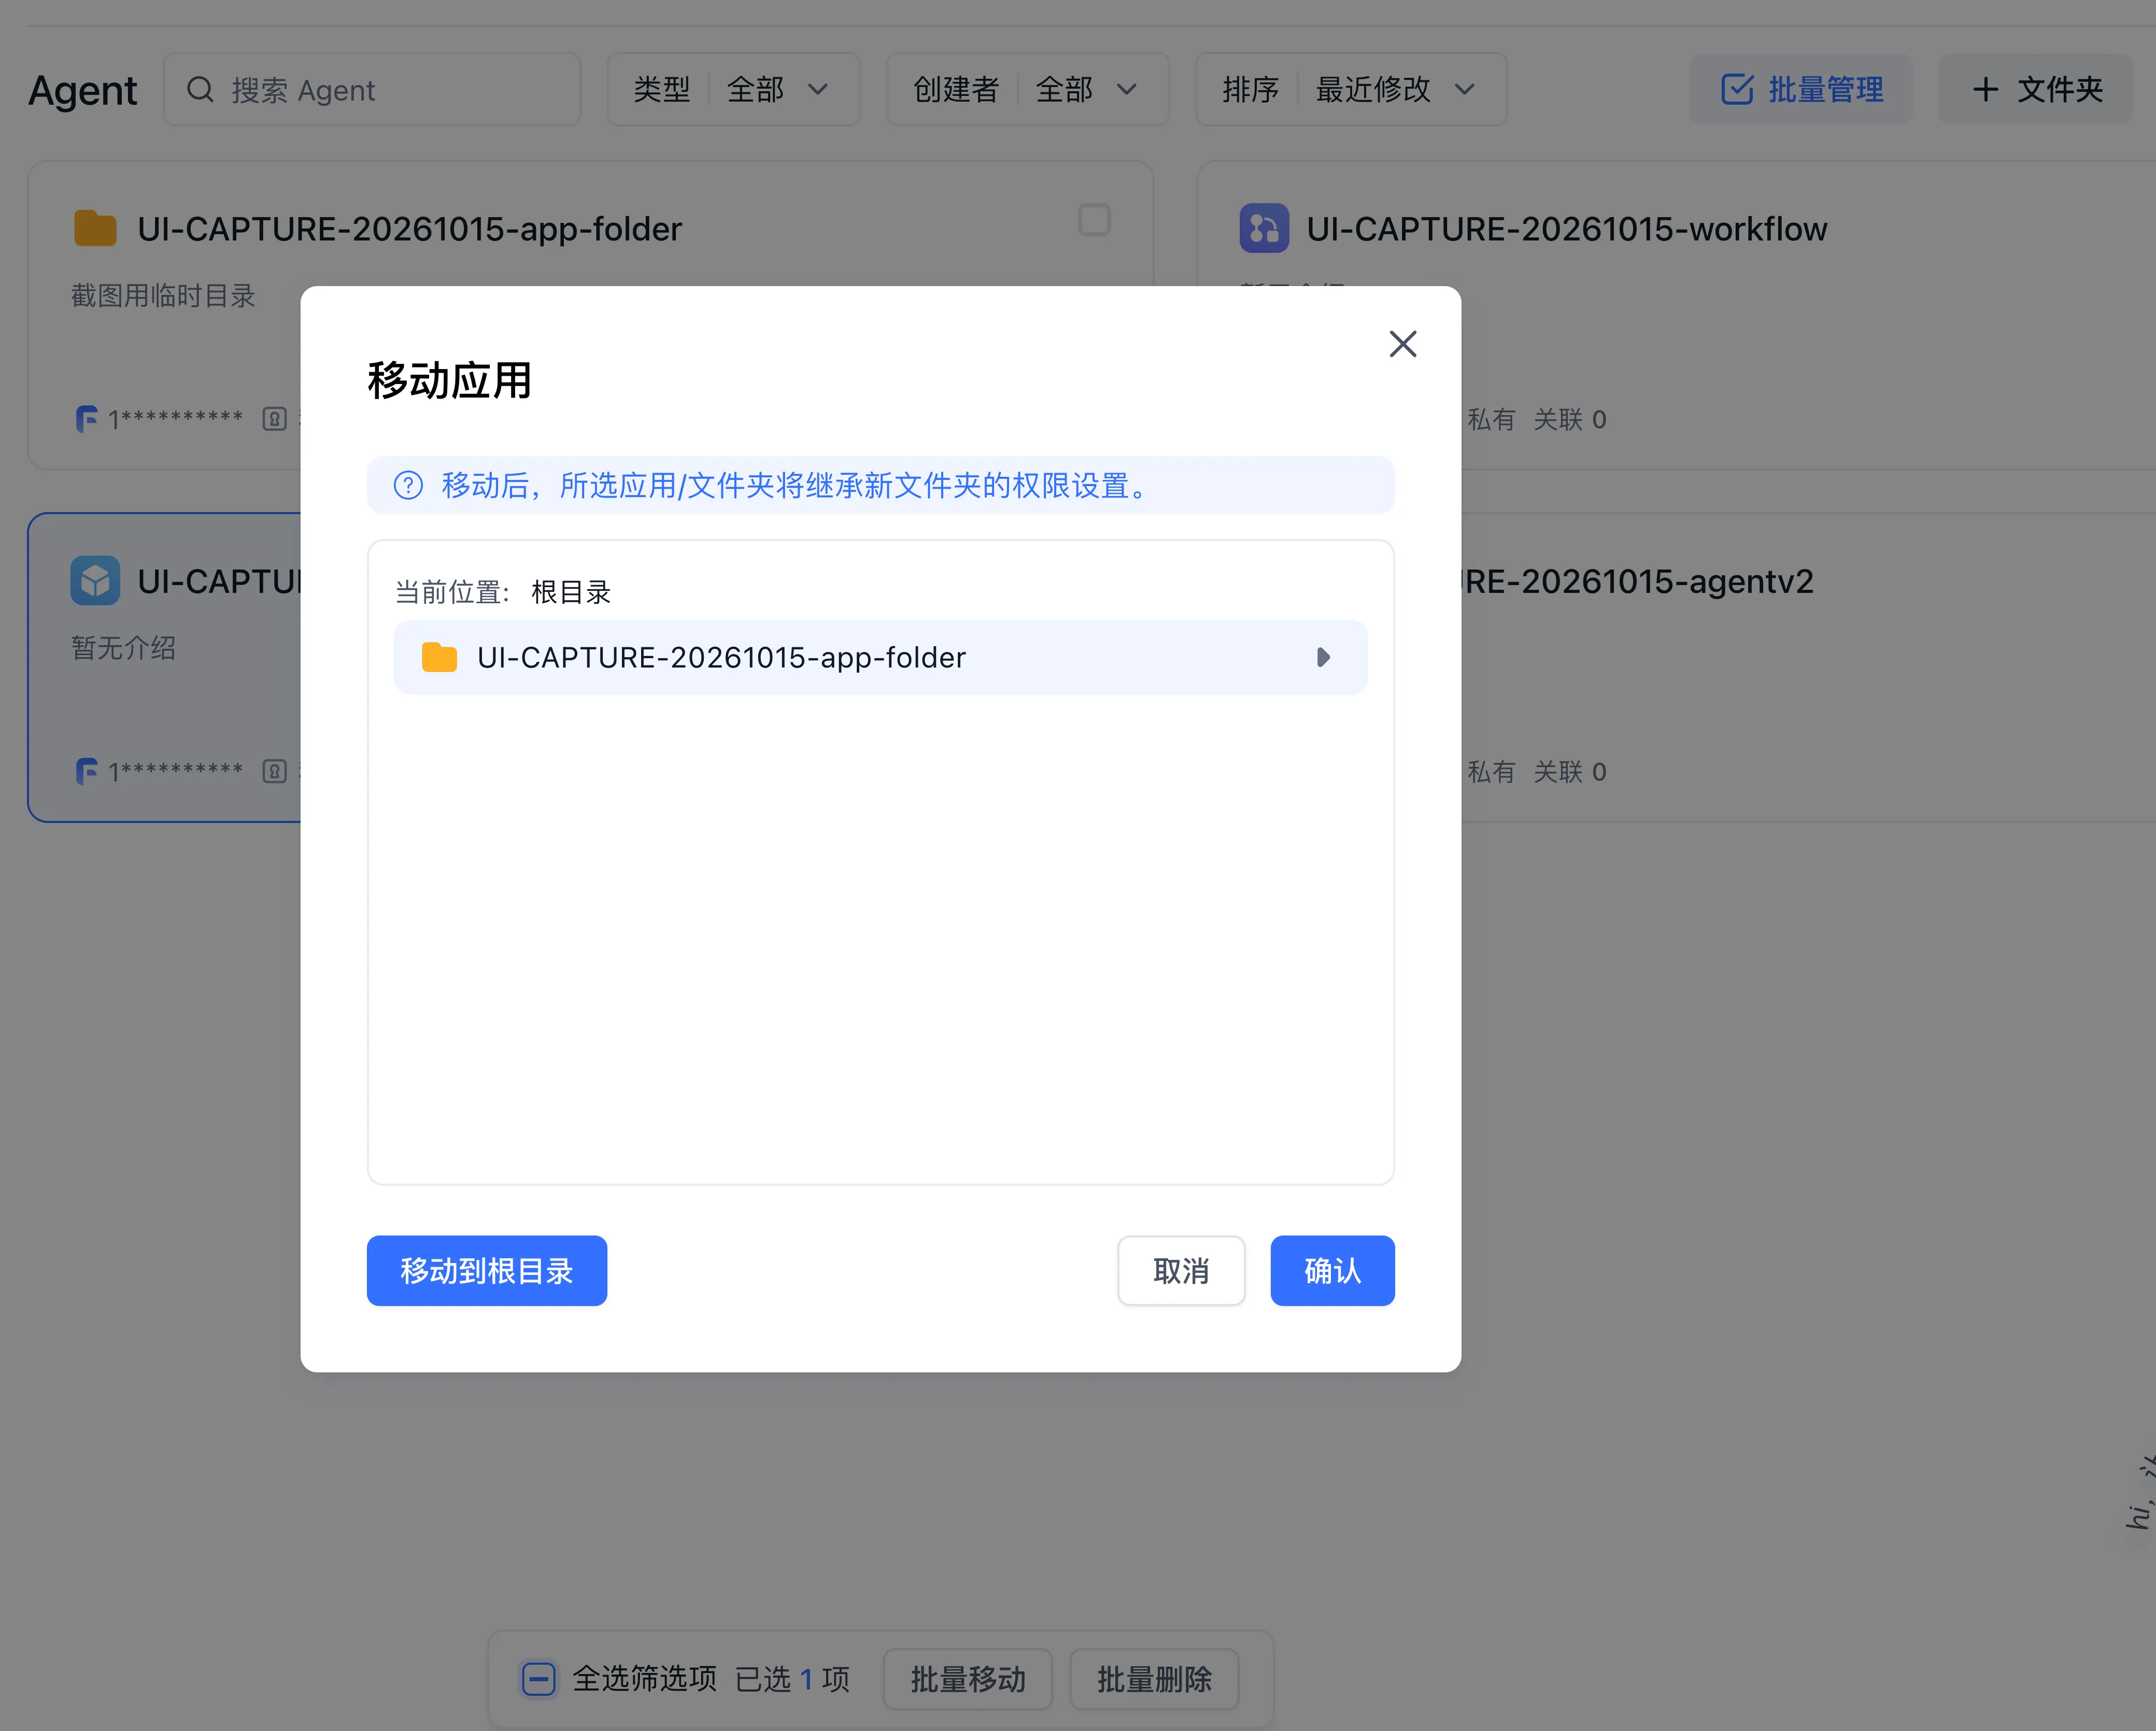
- Batch move: Click Batch Move and choose the destination folder or root directory. Resources with permission inheritance enabled synchronize to inherit the destination folder's collaborator permissions; standalone resources (
inheritPermission=false) update only their folder location and ancestor path while preserving their existing collaborator ACLs, so verify collaborators after moving resources into restricted folders. - Batch delete: Click Batch Delete, verify the listed resources in the confirmation dialog, and enter the confirmation text to submit: the resource name when only one deletable resource is selected, or Confirm Delete when two or more are selected. Deleting an application removes its conversation history, evaluation tasks, and share links; export critical configurations beforehand.
Import and Export JSON Configurations
Workflows and Chat Agents support portable JSON DSL files for cross-environment migration, backup, and sharing. Both can export from the editor; only Workflows can import from the editor:
- Export configuration: Open the target Workflow or Chat Agent editor, click the menu beside the App name card in the upper-left corner (the dropdown arrow menu in Workflows or the ... menu in Chat Agents), and select Export to download or copy the
.jsondefinition (Filter sensitive information is checked by default). - Import configuration: In a target Workflow editor, open the menu beside the App name in the upper-left corner, select Import, paste the JSON text or upload a
.jsonfile, and click Save to update the current draft. You can also click Import in the upper-right corner of the Studio → Agents list page to create a new App from JSON. - Post-import checklist: After importing a configuration across teams or environments, re-select valid team models, knowledge bases, and tools before publishing.
Next: Learn about Published Versions and Publishing Channels or configure Team Roles and Permissions.
Edit on GitHub
Last updated